What is STEM play and why is it important in child development?
STEM play (STEM= Science, Technology, Engineering and Math) helps develop critical thinking by encouraging questions, observations, and conclusions while enhancing problem-solving skills through patience and perseverance. Engaging in STEM play activities also spark creativity and imagination, inspiring them to explore diverse ways of building and designing.
They may sound fancy, like something you have to outsource to an enrichment centre that specialises in STEM, but truth is it is simply about exploring, experimenting, and discovering the world through hands-on activities that spark curiosity and creativity in our children and there are so many simple play ideas that you can do together at home that would be fun, engaging and tick all the STEM boxes.
On that note, here’s 10 fun STEM play activities (with minimal prep) you can easily set up at home for your children. Let’s dive in!
Table of contents:
- What is STEM play and why is it important in child development?
- 10 fun STEM Play activities
- Activity 1: Water Play – Exploring Volume and Flow
- Activity 2: Discovering Buoyancy – Sink and Float Experiment
- Activity 3: Frozen Toys Rescue – The Science of Melting Ice
- Activity 4: Invitation to Paint on Ice
- Activity 5: Exploring Math and Chemistry with Play Dough
- Activity 6: Exploring Colour Theory with Play Dough or Water
- Activity 7: Growing and Shrinking Shadows – Shadow Size Experiment
- Activity 8: Exploring colours with Light – Creating Art with Light
- Activity 9: Ball Run or Marble Run with Blocks
- Activity 10: Building a Fort with Pillow, Couch Cushion and Blankets
10 fun STEM Play activities
Water play
STEM Play Activity 1: Simple water play invitation
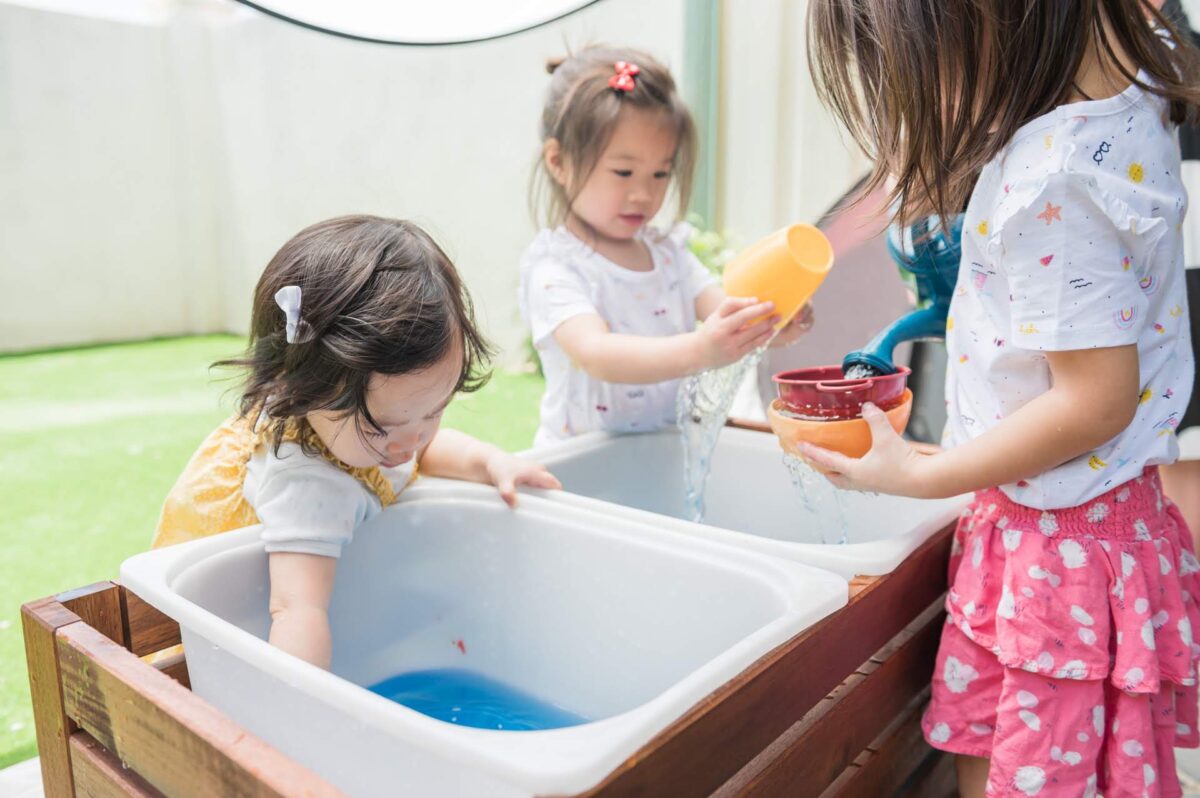
This is one of my go-to water play ideas because it’s easy to set up and perfect for a range of ages. A tub of water, cups, spoons, scoops, ladles, funnels, colanders and you have the ingredients of a super engaging STEM activity where your child will be exploring with all kinds of math and science concepts.
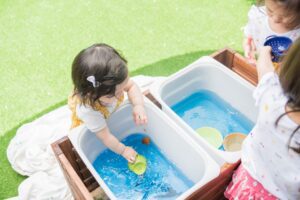
Here are the various materials you can offer:
- Small containers (cups, bowls, jars) of different shapes and sizes for pouring and measuring
- Spoons, ladles or scoops for scooping and transferring water
- Measuring cups or spoons for precise measurement and exploring volume
- Syringes, pipette or droppers for fine motor skills and experimenting with small amount of liquid
- Small funnels of various sizes to experiment with different flow rates and the process of transferring liquid
- Sponge for soaking up water and practicing squeezing out excess liquid
- Colanders to explore filtration and separation
- Piping or tubing to create channels for water flow through and allowing kids to explore how water moves through different paths and angles

STEM Play Activity 2: Sink or Float Experiment
Transform your water play station into a Sink or Float Experiment by swapping out some of the containers with various small objects like toys (animal figures, loose parts), leaves, or stones, and encourage your child to guess whether each item will sink or float. This activity adds a fun layer of prediction and discovery as your kids experiment with everyday objects to see which ones will sink or float.
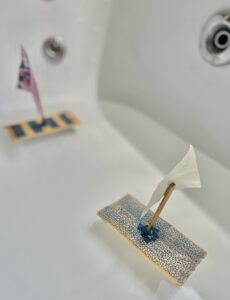
Encourage your toddler or preschooler to make predictions about whether each object will sink or float before placing them in the water. You can ask questions like, “What do you think will happen if we put this in the water?” or “Why do you think this floats while that sinks?”
Ice Play
STEM Play Activity 3: Frozen Toys Rescue – The Science of Ice Melting
This Frozen Toys Rescue activity is a fantastic way for children to engage in scientific exploration while having fun! All you need to do is to freeze small toys, such as animal figures or nature items, in ice, and then allow your child to rescue them by either breaking, chipping away at it or melting the ice.
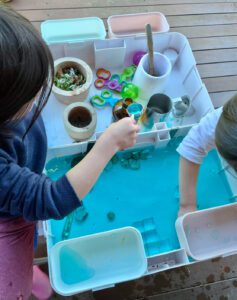
Offer a variety of materials for your child to experiment with when melting the ice, such as:
- Warm water – to see how ice melt
- Salt – to observe how salt can accelerate melting
- Different temperature of water – to compare the different rates of melting
- Offer a variety of tools to see how water interacts with ice in different ways (eg: spray bottle for a fine mist)
Toddlers and preschoolers will delight in the sensory fun of playing with ice and watching it melt. This hands-on experience will also help them develop a stronger understanding of concepts like temperature, heat transfer, and the science of matter.
STEM Play Activity 4: Invitation to Paint on Ice
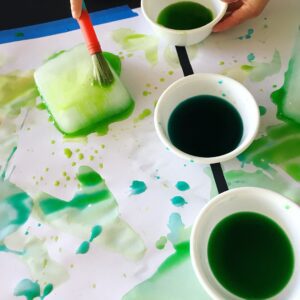
Take your ice play to the next level by setting up an invitation to paint on ice. Let your child’s imagination run wild as they discover the endless possibilities of painting on ice.
Besides nurturing creativity, this activity helps your child develop fine motor skills as they grip brushes, control strokes, and explore icy textures. It introduces basic scientific concepts like melting and state changes, sparking curiosity and critical thinking.
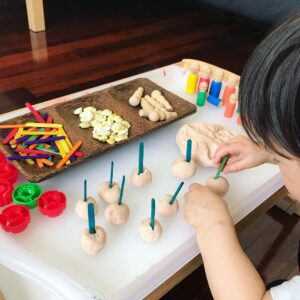
STEM Play Activity 5: Simple Play Dough Invitation
Let’s talk about the magic of playdough – the ultimate open-ended material for STEM play activities that spark creativity in kids while providing valuable learning opportunities in math, science and motor skills development.
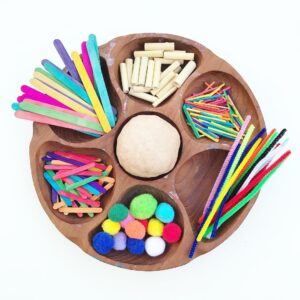
With play dough, children can explore so many things like creating shapes, sizes, patterns, and even fractions. They can roll, cut, and shape dough into different forms, which is a hands-on experience with spatial awareness, hand-eye coordination and problem-solving.
Recipe for homemade play dough
Materials needed:
- 4 cups plain flour
- 1 cup salt
- 3 cups boiling water
- 2 tab cream of tartar (optional)
- 1/4 cup cooking oil
- Food colouring
Step 1: Combine all the dry ingredients and mix well.
Step 2: In a separate bowl, mix all the wet ingredients together
Step 3: Create a well in the dry ingredients, and then slowly pour the wet ingredients in
Mix with a spoon/spatula and once it becomes warm-ish (eg: not boiling hot), knead with both hands to consistent texture
Note: This recipe makes a large batch, perfect for multiple children. For just one child, you can easily halve or even quarter the recipe.
STEM Play Activity 6: Exploring Colour Theory with Play Dough or Water
With Play Dough
Playdough is a fantastic medium for exploring colour theory in a hands-on, engaging way.
For younger kids, you can show them how to mix two colours. By mixing primary colours to create secondary ones, children not only learn about colour combinations but also a great way to encourage sensory exploration while strengthening essential finger muscles through play.
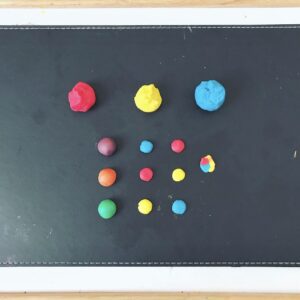
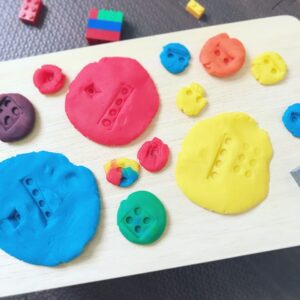
For older kids, you can extend the activity by experimenting with colour ratios to explore gradients and hues. Encourage them to name their creations (e.g., “eggplant purple” or “traffic light green”) to boost language skills, or document their findings through another art medium like watercolours.
Quick tip:
For children under 3, try offering just two primary colours along with white. This way, they create a beautiful new colour every single time—something they (and you) can be so proud of! Plus, it keeps the mess manageable and a bit easier on your senses too 😂
With Water
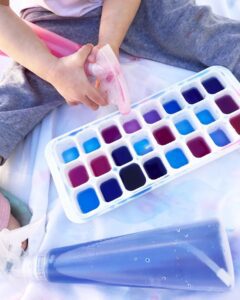
Water is another great medium to explore colour theory and offers engaging learning opportunities for all ages. All you need are some food colouring or paints.
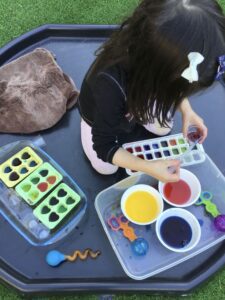
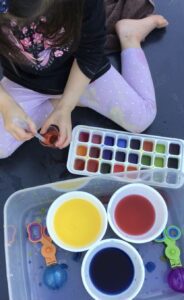
To inspire even more creativity, provide resources like the Pantone Color: A Board Book helping them explore unique shades and further develop their artistic and language skills. This extended activity offers a well-rounded experience, blending art, science, and communication.
Shadow and Light Play
Just like water play, light and shadow play actually offers so many benefits for children too. Children learn cool stuff about light behaviour, how shadows form, and introduce them to more advanced topics like concepts of geometry (by observing shapes and patterns) and physics (as they experiment with how light travels and interacts with objects).
STEM Play Activity 7: Lightbox Play
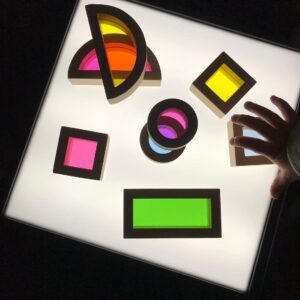
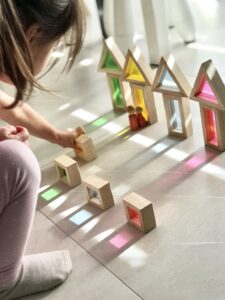
Lightbox play is a simple and engaging activity that doesn’t require an expensive or fancy setup. You can repurpose a motivational quotes lightbox or DIY a lightbox with a flashlight or fairylights in an underbed storage container, and provide your toddler or preschooler with transparent objects like coloured blocks, shapes or even coloured paper to explore. This activity encourages creativity, colour recognition and sparks their curiosity about light and shadow.
STEM Play Activity 8: Exploring light and shadow with natural sunlight
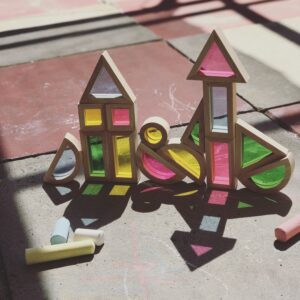
Using natural sunlight for play is a fantastic way to explore light and shadow without any special equipment. Simply set up a space indoors with plenty of natural light or take the activity outdoors on a sunny day and provide your child with objects like leaves, sticks, or toys to create shadows on the group or a wall. This activity helps children develop an understanding of light, shadow and spatial awareness, while also fostering creativity as they experiment with how objects cast different shapes and sizes in the sunlight.
STEM Play Activity 9: Ball Run or Marble Run with Blocks
Creating a marble/ball run is an awesome family activity! It grows with your kids, making it an ideal playtime option for families with children of multiple ages.
How to build a ball/marble run?
- Gather materials around the house like cardboard tubes, plastic containers, blocks, and toys. If you have a set of magnetic tile balls, you can offer them too.
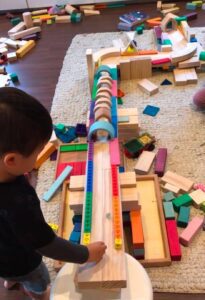
- Build a dynamic marble run by stacking blocks to create ramps, turns, and obstacles.
- Encourage your kids to test and modify the setup—add higher ramps, sharper turns, or even extend the track!
- Use tape or other fasteners to secure parts if needed.

In this activity, we used blocks and loose parts to construct ramps and obstacles for the marbles. There was plenty of experimentation involved—figuring out block heights, angles, and placements to create sharp turns and boost marble speed.
STEM Play Activity 10: Building a Fort with Pillows, Couch Cushions, and Blankets
Perhaps your child is already doing this, and you’re feeling stressed by the mess. But look beyond it and recognize the engineering concepts they’re exploring as they work to balance and build their fort for maximum stability.
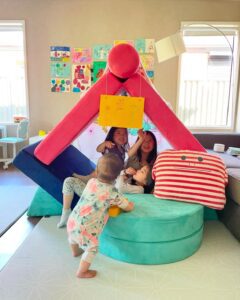
What I absolutely love most about fort-building is the magic of teamwork and creativity that naturally unfolds. Whether it’s figuring out who holds up the blanket while someone else tucks it in or coming up with ways to make the fort even bigger, the collaboration is such a precious part of the play.
Key Takeaway
Incorporating STEM play activities into everyday play opens up exciting learning opportunities for children of all ages. These hands-on experiences encourage curiosity, creativity, and problem-solving in ways that feel like pure fun. Plus, they’re a great way for siblings to bond, collaborate, and learn from each other as they explore concepts in science, technology, engineering, and math. Embrace the mess, enjoy the process, and watch as your kids learn, grow, and create together!
13
Jan
